Description
Kit Instructions
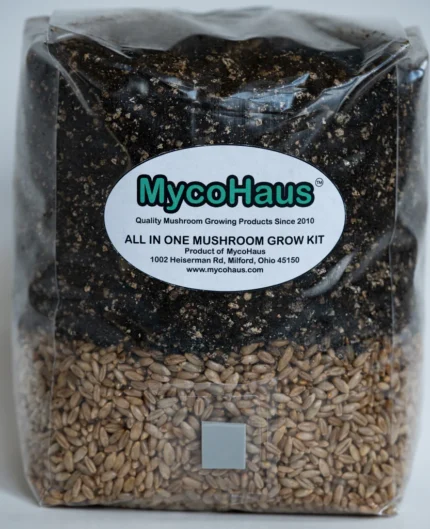
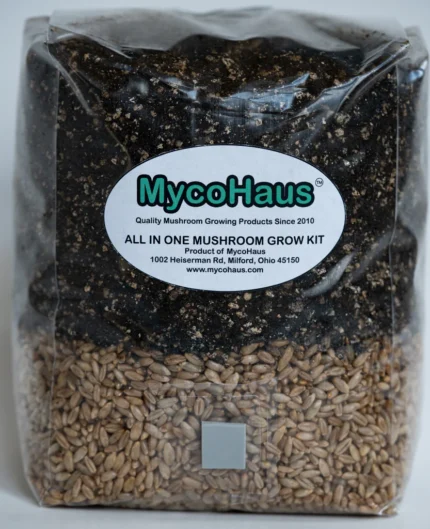
After receiving your kit, remove the protective shrink wrap and unfold the top flap. Not opening it, just unfolding it so fresh air can flow through the filter patch. It is best to clean the kit and injection site with alcohol and to work in the cleanest environment possible to reduce the risk of contamination.
Inject around 2-4 ccs of spore or liquid culture solution through the self-healing injection port. This amount will vary depending on the potency of your syringe. It is important not to inject too much solution as this may cause the kit to become over-saturated. After inoculating do not mix the kit. You may need to rotate the kit to allow the solution to spread evenly through the grain portion but mixing is not necessary. Place the kit in a warm dark place to allow it to incubate. Once again incubation temperature will vary depending on the species but is generally around 80-86 degrees.
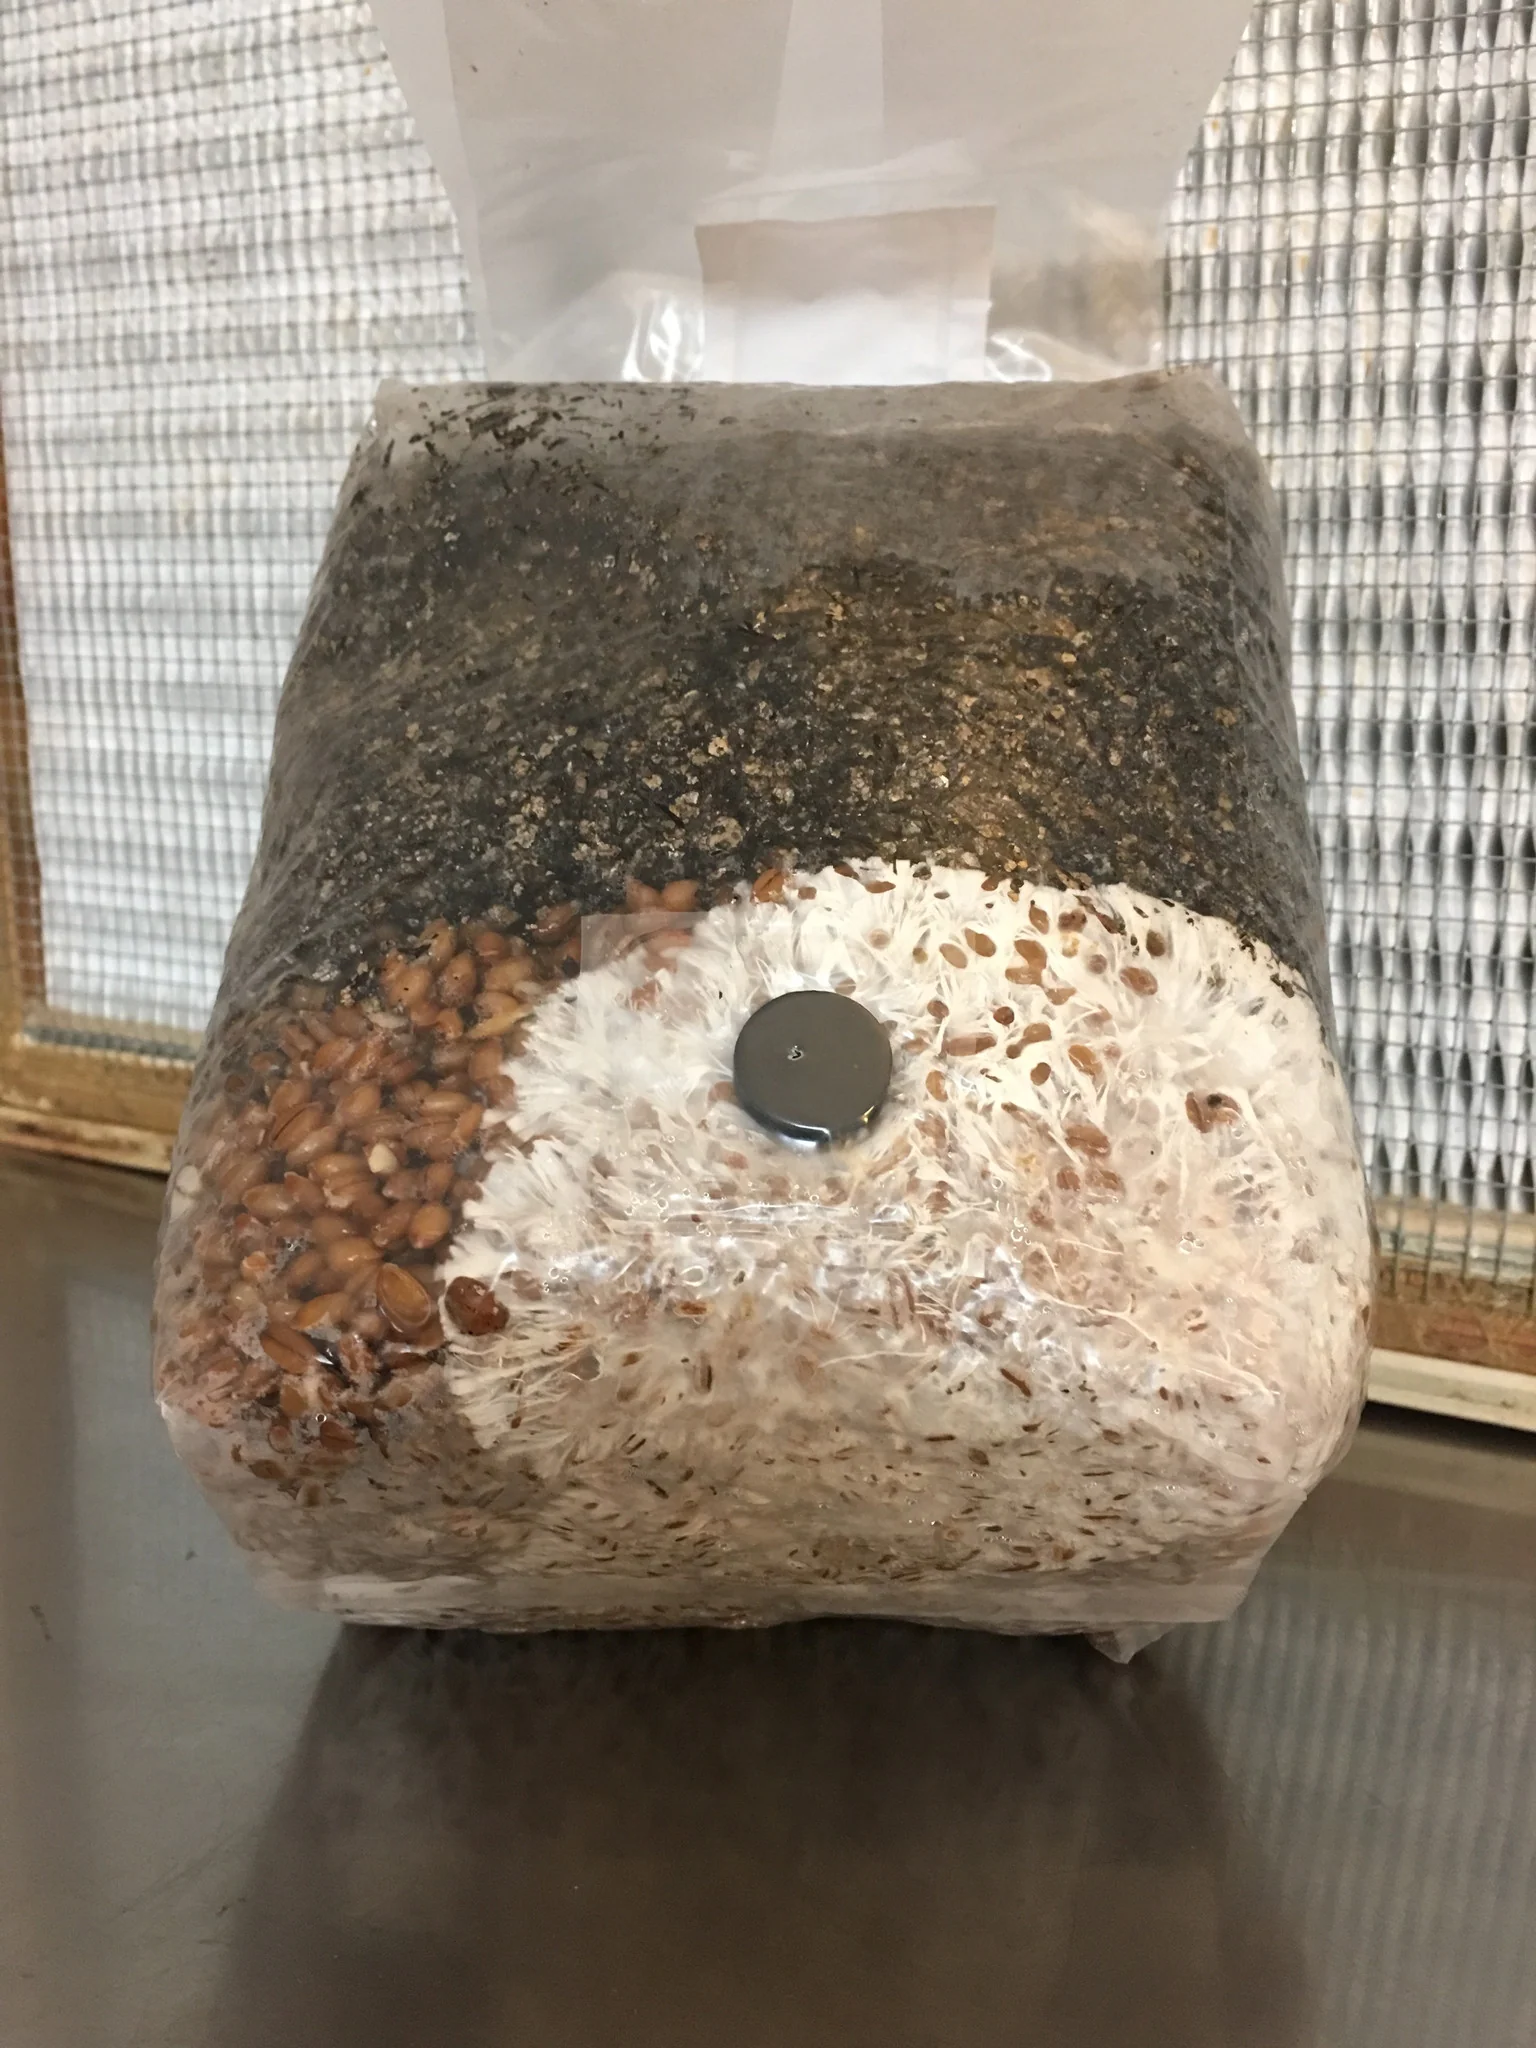
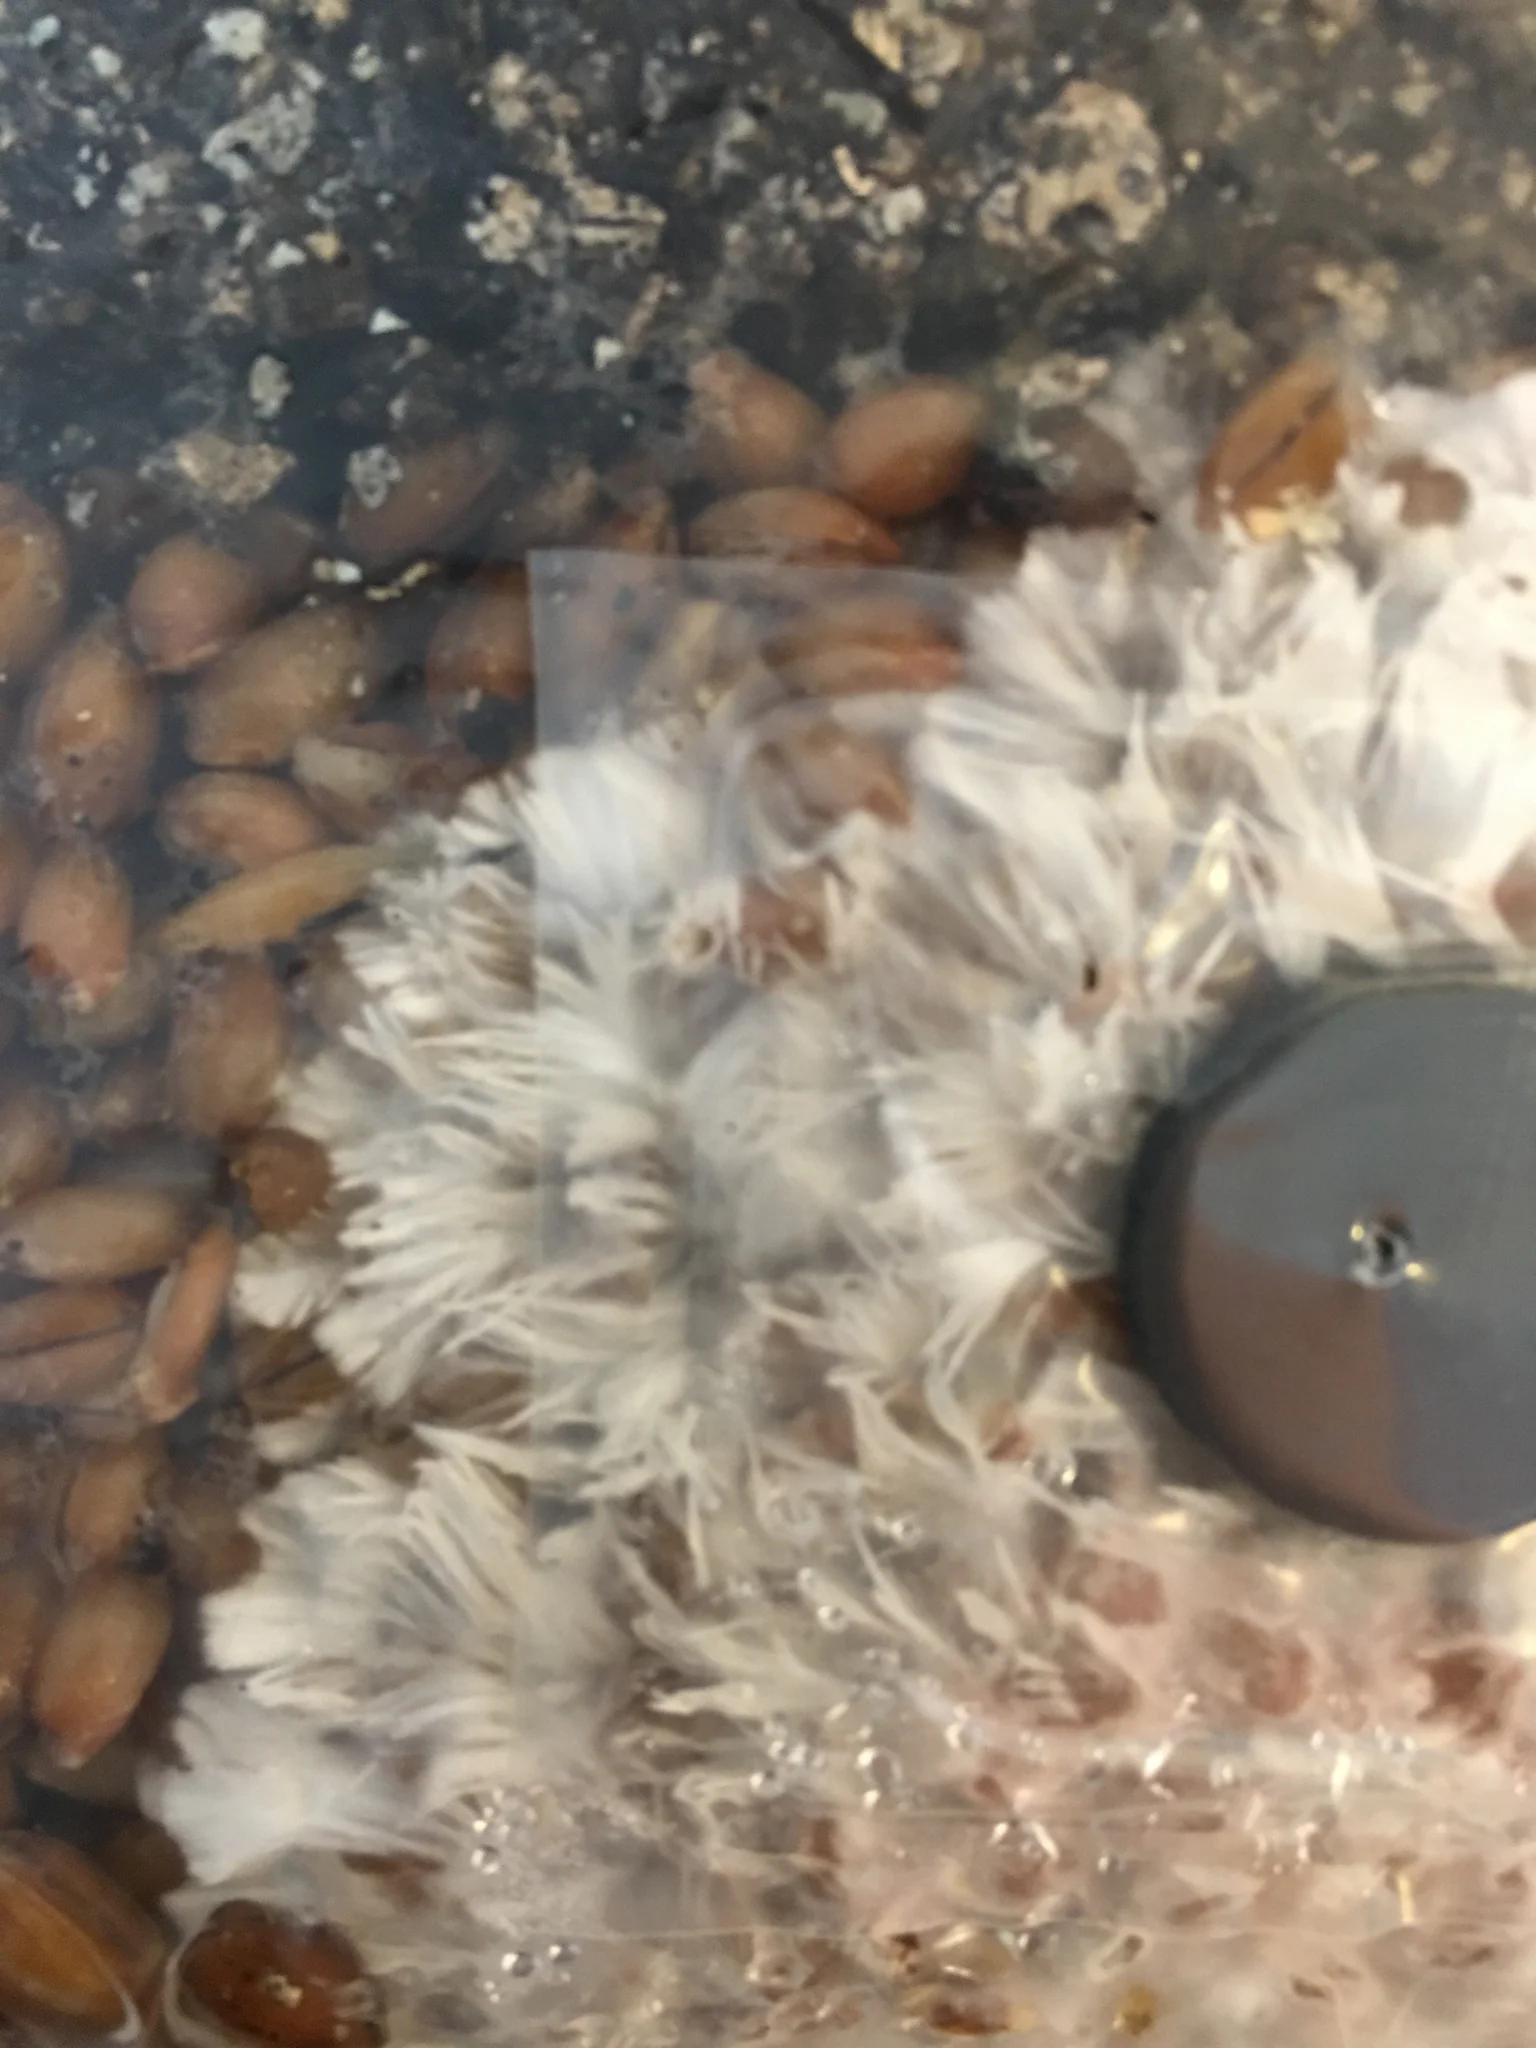
In about 3-5 days after inoculating your mushroom grow kit, the grain at the bottom of the kit will start to turn white or “colonize”. Wait until all the grain has fully colonized. Once that happens you can mix the entire contents of the kit to disperse the grain throughout the soil. Wait and allow the entire kit (grain and compost) to fully colonize. You will want to fruit the kit once the entire substrate reaches 80% or higher colonization. Ideally, you want to wait until it is 100% but sometimes mycelium growth will slow down and your kit may not reach full colonization within an ideal time frame.
Now you can begin to fruit your kit. This can be done right in the bag, in a terrarium, plastic tote, or mono tub. You generally will get a larger yield when fruiting in a tub but there are more steps involved and you also run a higher risk of contamination. The easiest way is to let the mushrooms grow right inside the bag.
Fruiting in the bag
If you plan on fruiting the kit in the bag, you will want to open the bag to give the substrate some fresh air once it is fully colonized. Then possibly mist the substrate with clean or distilled water if it appears to be drying out. Then fold the bag shut to hold in moisture. This can be done with some clean tape or a paper clip. Drop the temperature to induce fruiting. This is usually around 70-75 degrees. Open the bag once a day or every other day to give the substrate fresh air.
The three factors that will take the substrate from a vegetative stage to a fruiting stage are temperature, oxygen level, and humidity. Controlling all of these at the right time will cause the substrate to fruit. it usually takes about 2 weeks (10-16 days). Once the kit starts to fruit you will see tiny mushrooms or “pins” forming on the substrate. As the pins develop and grow upward you may need to open the bag to make more room for the growing mushrooms. Once the mushrooms are fully grown, harvest them and fold the top of the bag closed. This is to prevent the substrate from drying out. Mist the substrate to rehydrate if necessary. More fruits should continue to grow in the coming weeks.
Bag Size
- Grain (one and two pounds) is bagged in 4x3x18 gusseted myco bags made from 3 mil polypropylene.
- Compost / bulk substrate (five and ten pounds) is bagged in 10x5x24 gusseted myco bags made from 3 mil polypropylene.
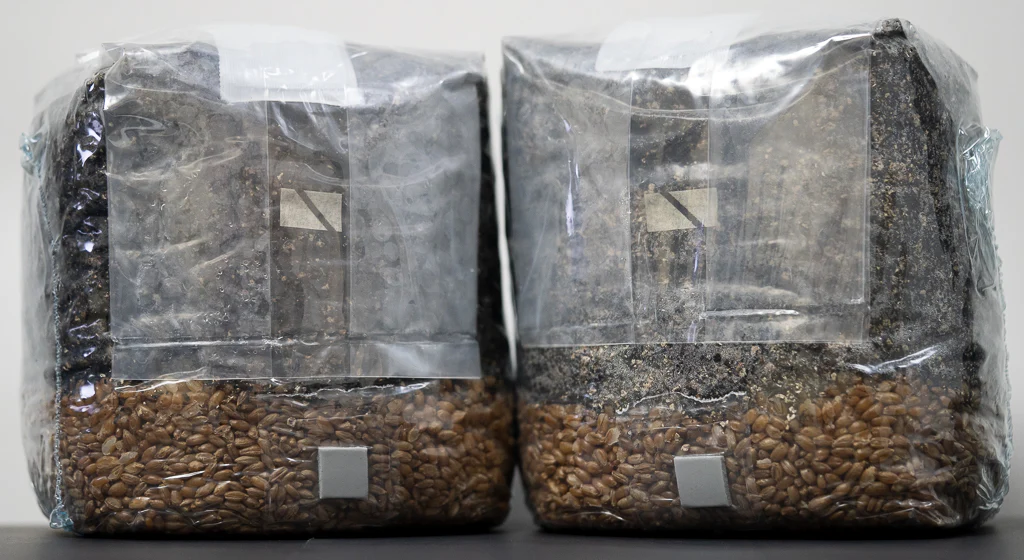
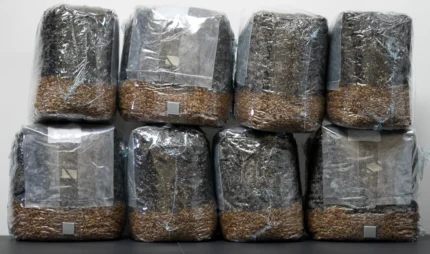
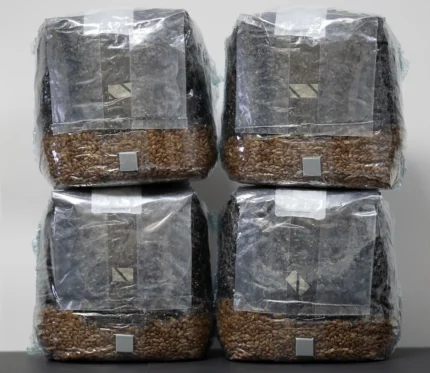
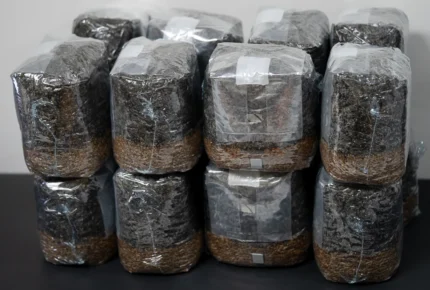
- Kits are bagged in 5x4x18 gusseted myco bags made from 3 mil polypropylene.



Reviews
There are no reviews yet.